Building a 42-Key Corne Split Keyboard - Part 1
Gathering the Materials and Assembling the Toolbox
2023.10.29 - Connor Shugg
Mechanical Keyboards
Ortholinear
Split
Corne
CRKBD
Soldering
Electronics
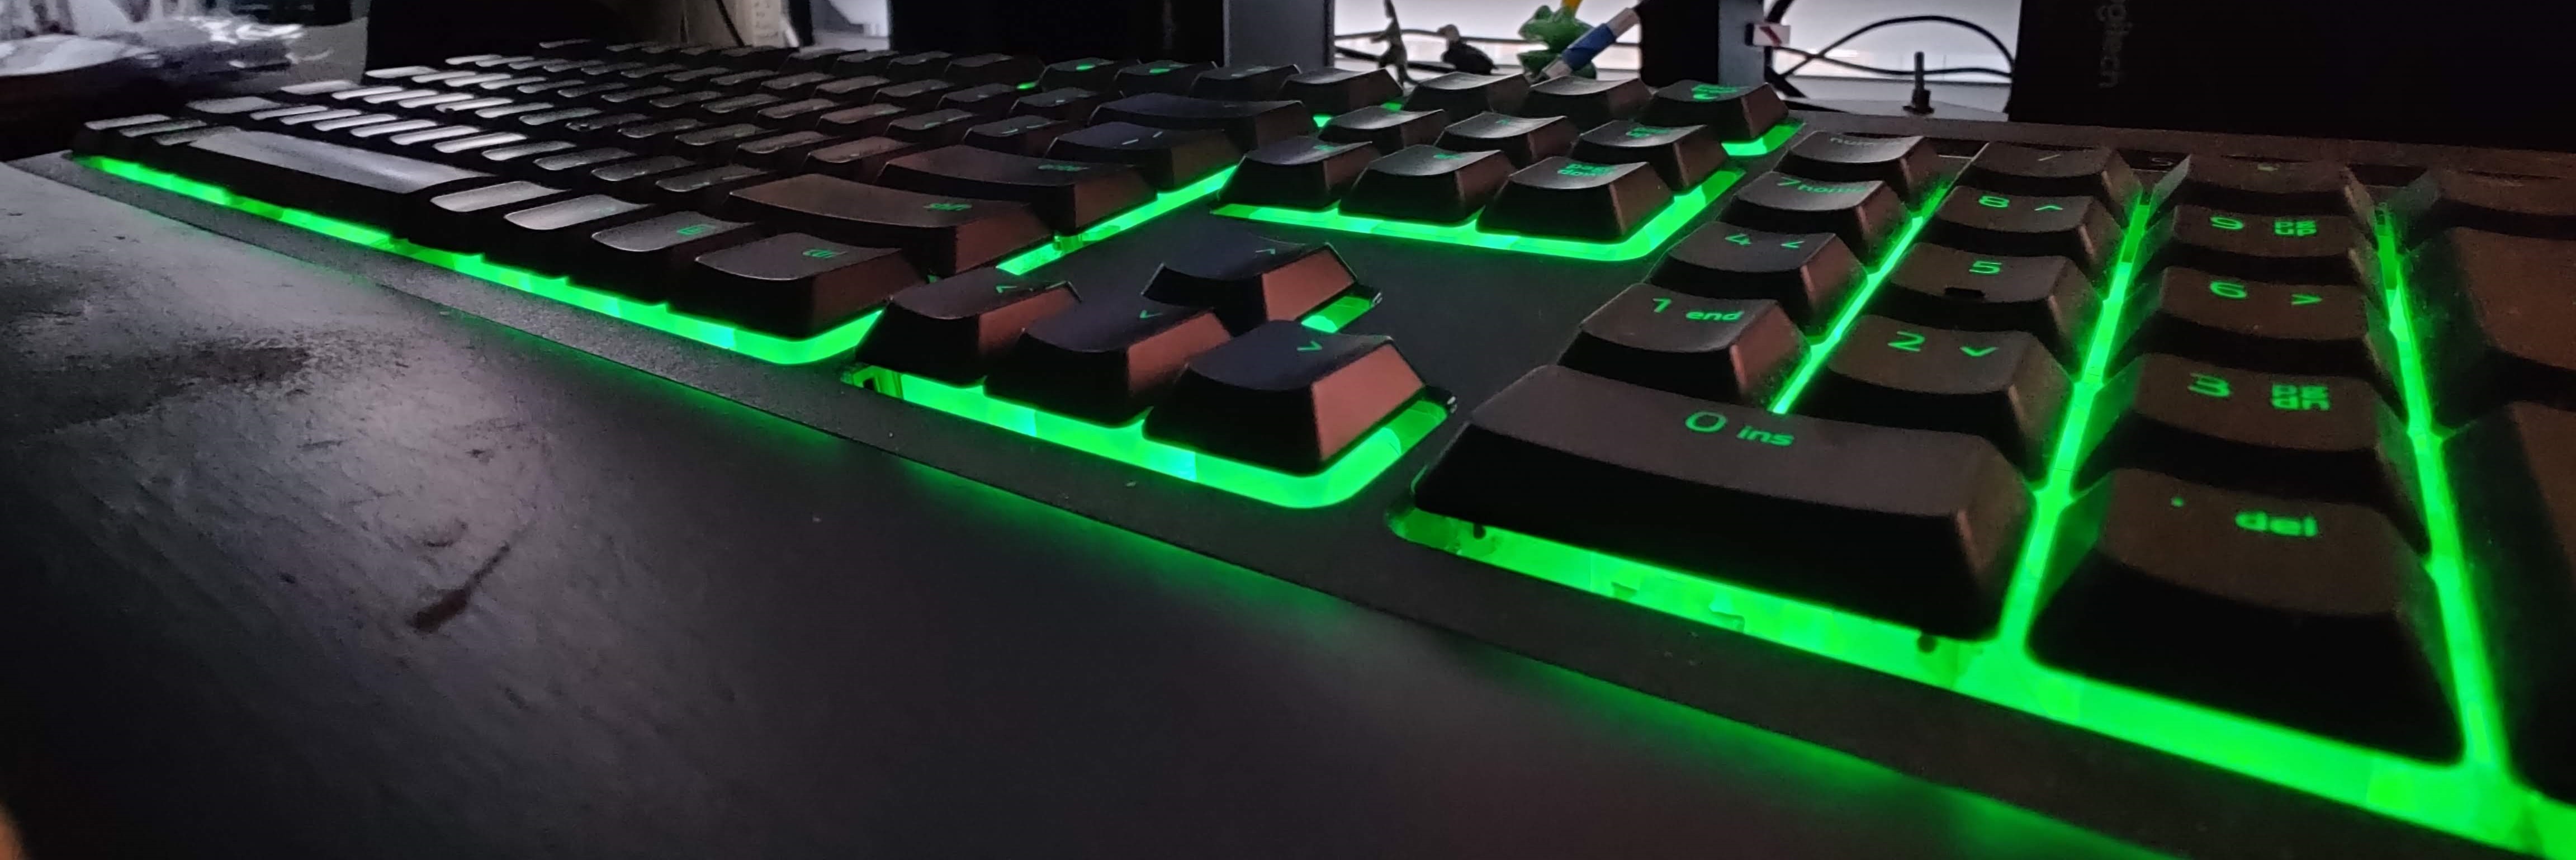
I’ve used the same keyboard for years. My trusty Razer Ornata Chroma has served me exceedingly well throughout college and into my working years. It’s been my companion while completing hundreds of projects and assignments, writing my thesis, pouring hours into games, and doing other everday computers tasks. All that use has left it with shiny keys, torn cloth on the wrist wrest, and several “mecha-membrane” keys that no longer play their signature click. Despite that, it continues to press on and refuses to fail. I might as well use this keyboard forever, right?
Well, enter physical health. For the past few months, I’ve been experiencing wrist and finger pain that fades in and out depending on my computer usage. Carpal Tunnel Syndrome and other similar ailments are common for people who use the computer for the majority of their day. To attempt to alleviate these symptoms and to take a step into the crazy world of mechanical keyboards, I decided to build my own Corne Keyboard (CRKBD).
Corne? Like the Crop?
Corne, (not corn), is a split mechanical keyboard designed by foostan, and is completely open source. It sports 42 keys (much less than a standard keyboard!), two microcontrollers running QMK, and optional OLED screens. Check out foostan’s GitHub repository for pictures and the full design.
CRKBD is an ortholinear keyboard, which means the rows of keys are vertically aligned, unlike the offset rows you see in a standard keyboard. This design gives the benefit of matching the natural extension of your fingers, which is supposed to make for smoother movements and less finger strain.
On top of that, it’s a split keyboard. The idea with a split keyboard is to place the halves further apart to keep your wrists as relaxed as possible.
Acquire the Corne
Because it’s open source, the entire PCB (Printed Circuit Board) design is available on the repository. Keyboard vendors can print these designs and sell parts for building a CRBKD. I opted to purchase a full kit and case from Little Keyboards. The kit came with:
- 2 Corne PCBs
- 2 TRRS jacks
- 2 reset switches
- 42 diodes (one for each key)
- 42 Kailh MX sockets (one for each key)
On top of this, I ordered two Elite-C microcontrollers and two small OLED screens. The microcontrollers are needed (one for each side of the split keyboard) to run QMK, which is responsible for processing key presses and sending them to the computer the keyboard is plugged in to.
Here’s what we’re working with:
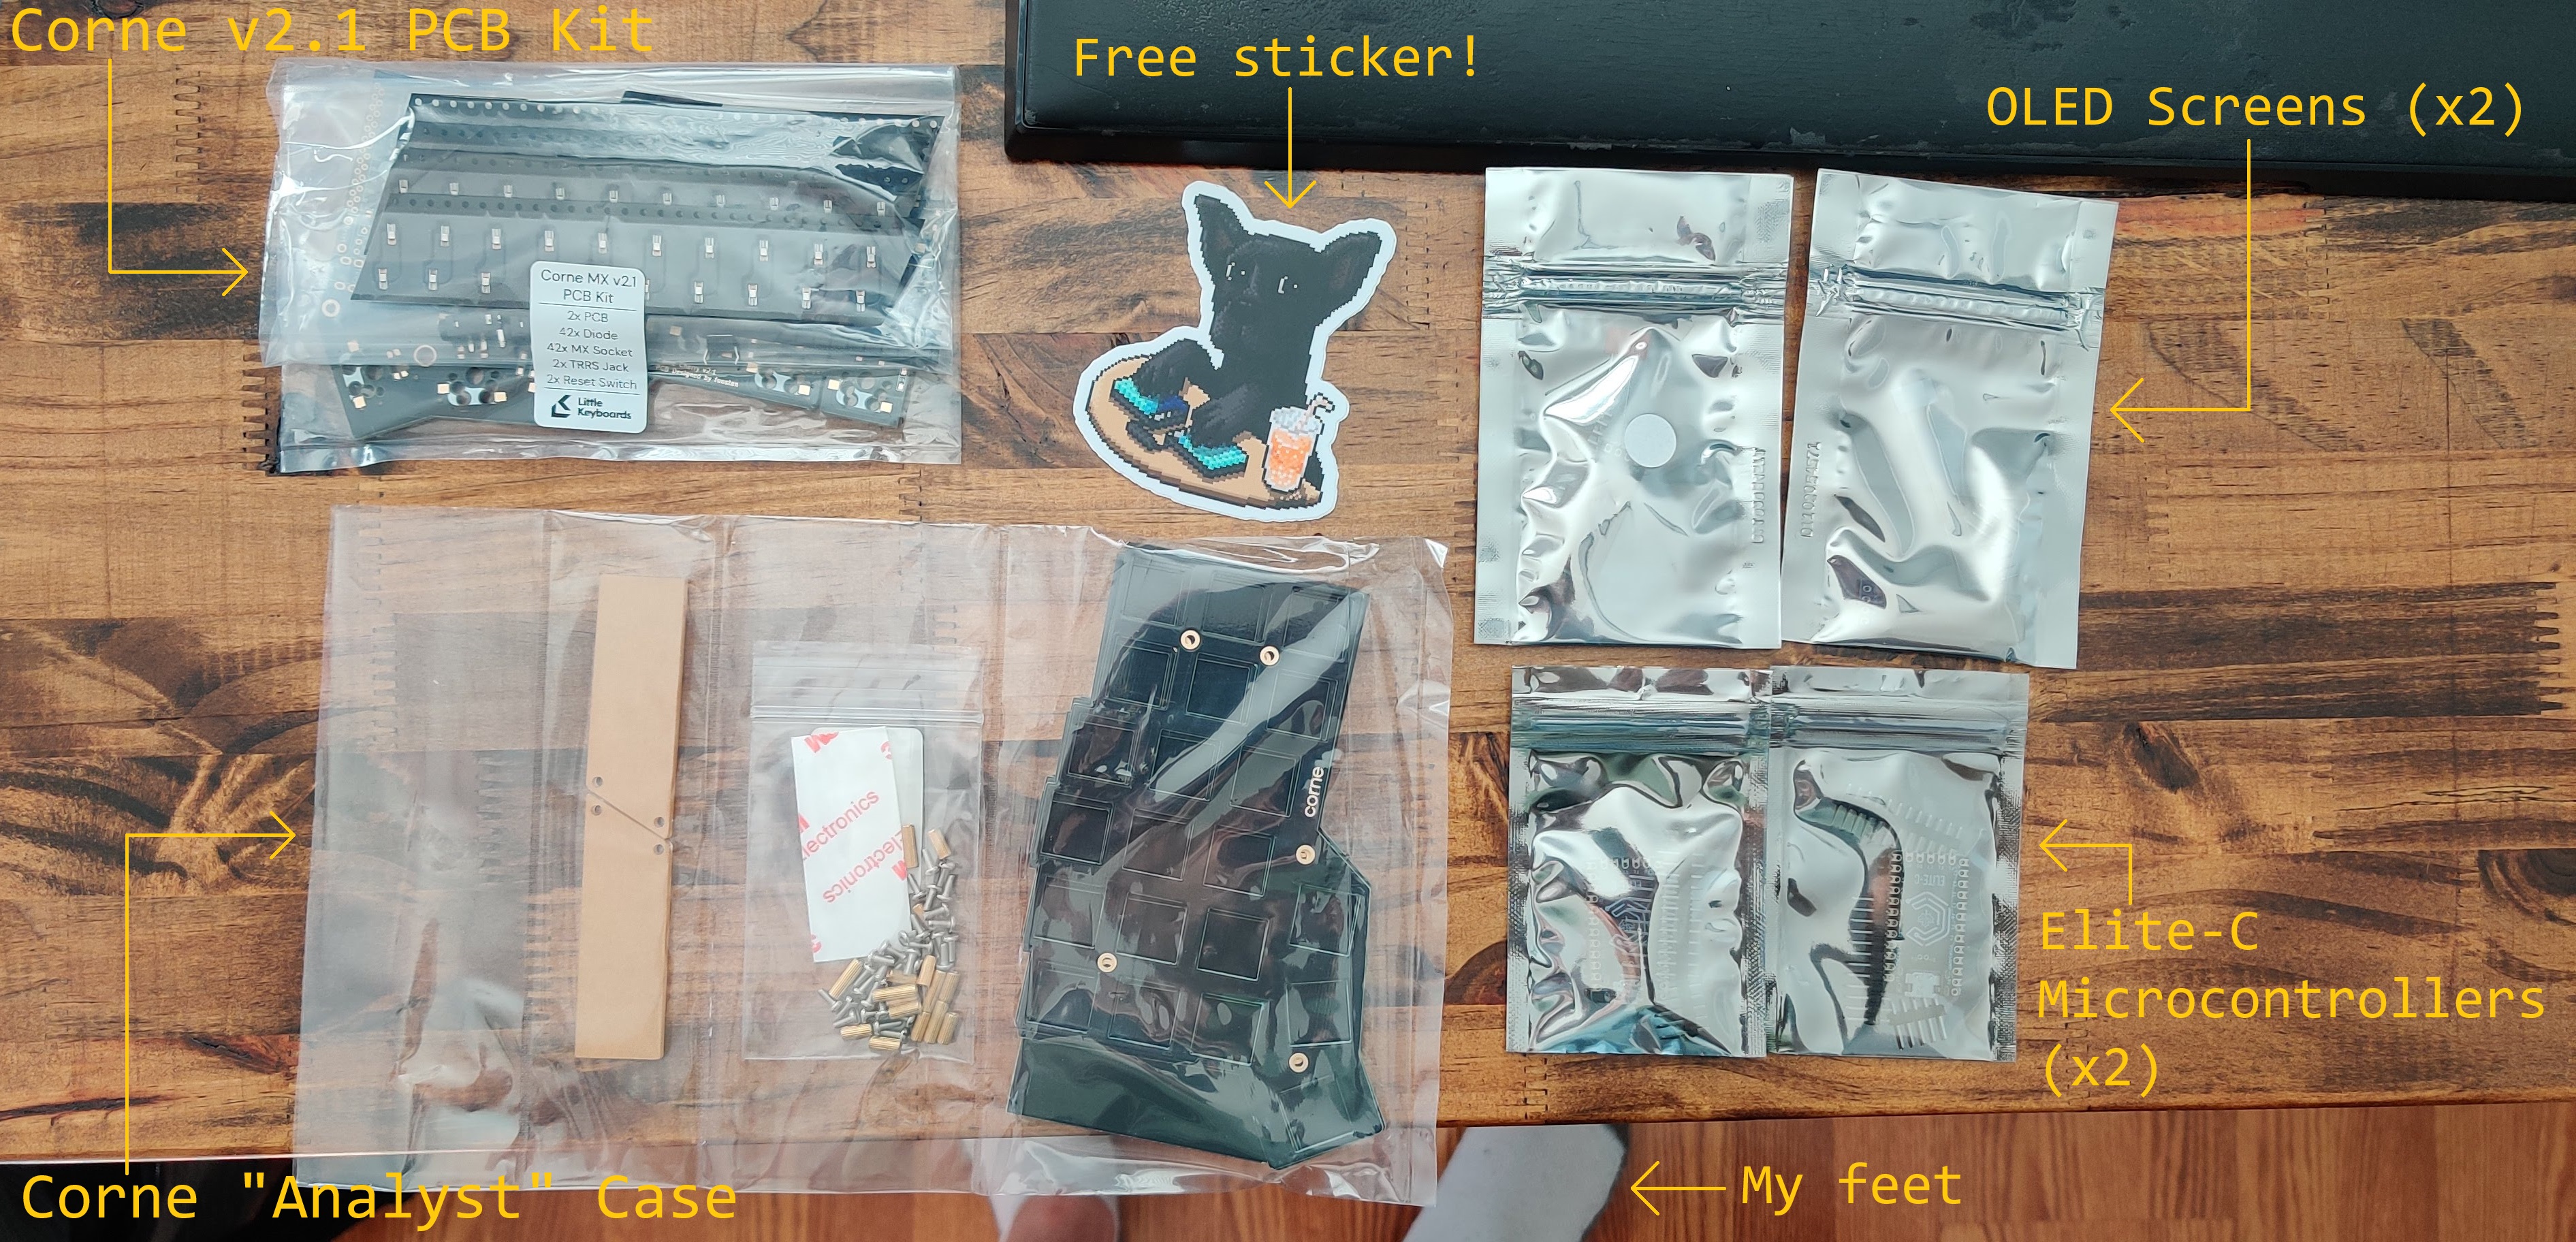
Can’t see the microcontrollers or OLED screens through those ESD bags? Don’t worry, we’ll get there.
Switches and Keycaps
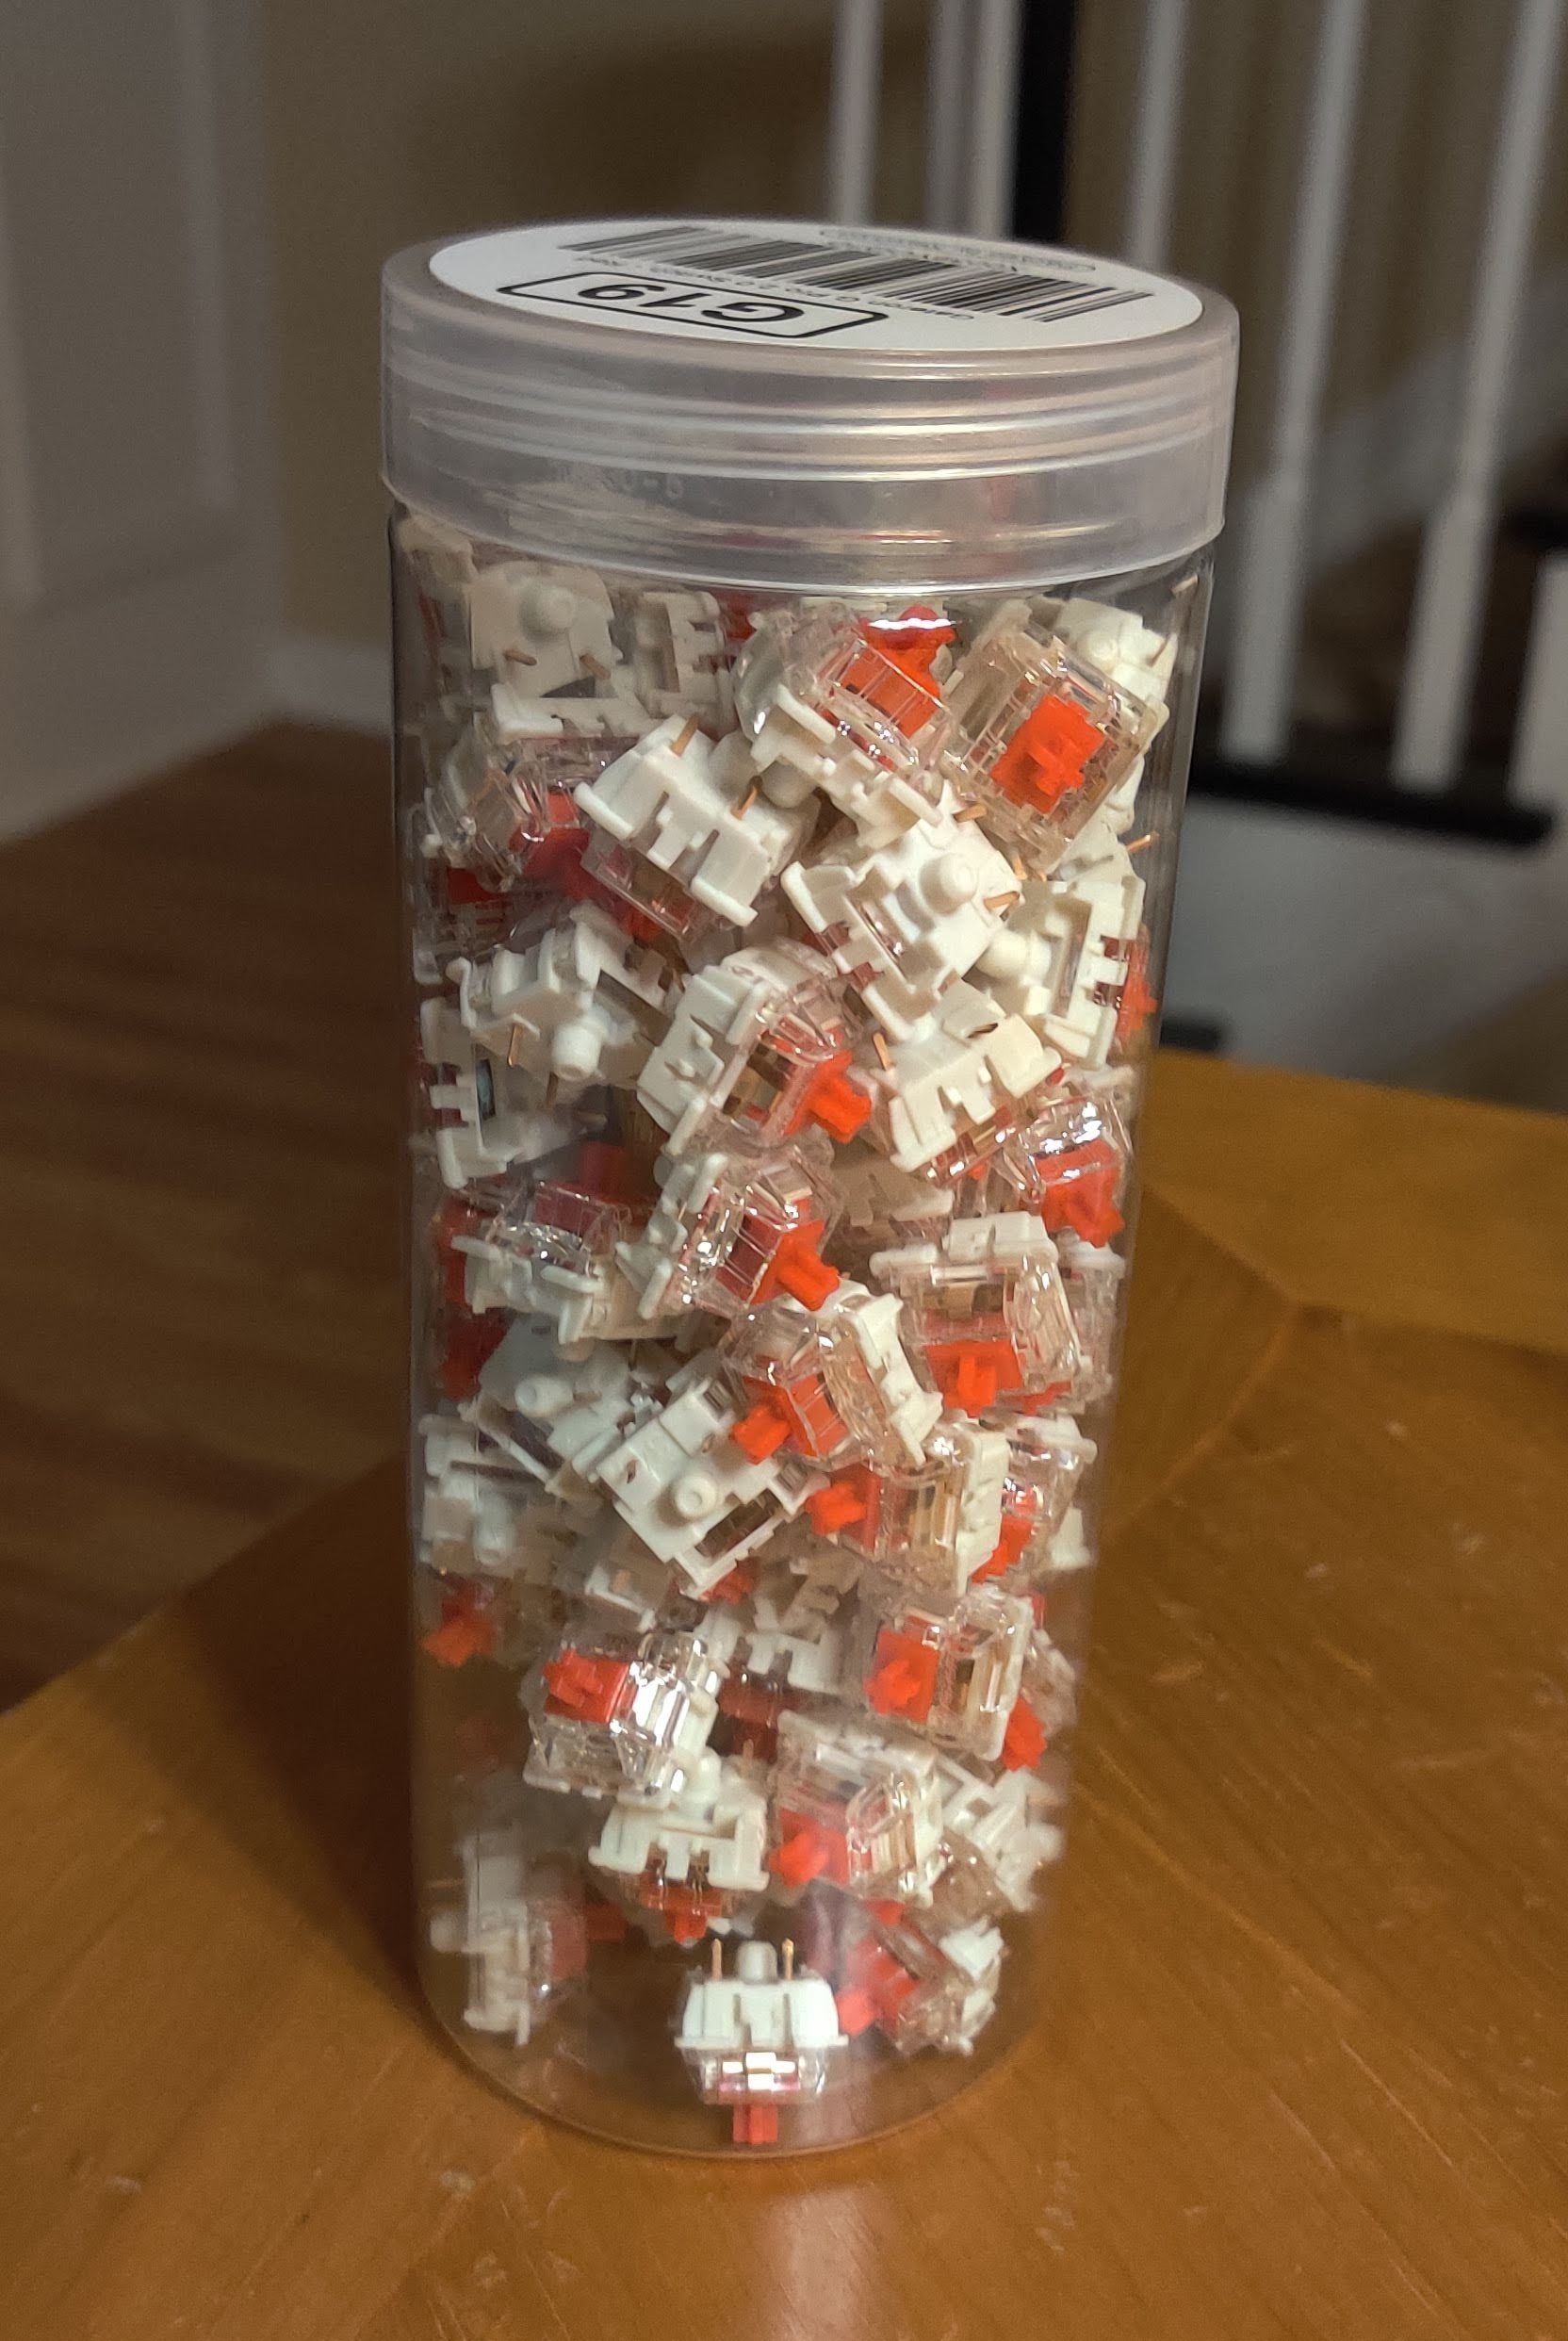
The last component needed for the keyboard, aside from all the hardware, was of course mechanical switches and a set of keycaps. I went for Gateron G Pro 2.0 red switches, which are linear in feel and very satisfying to use.

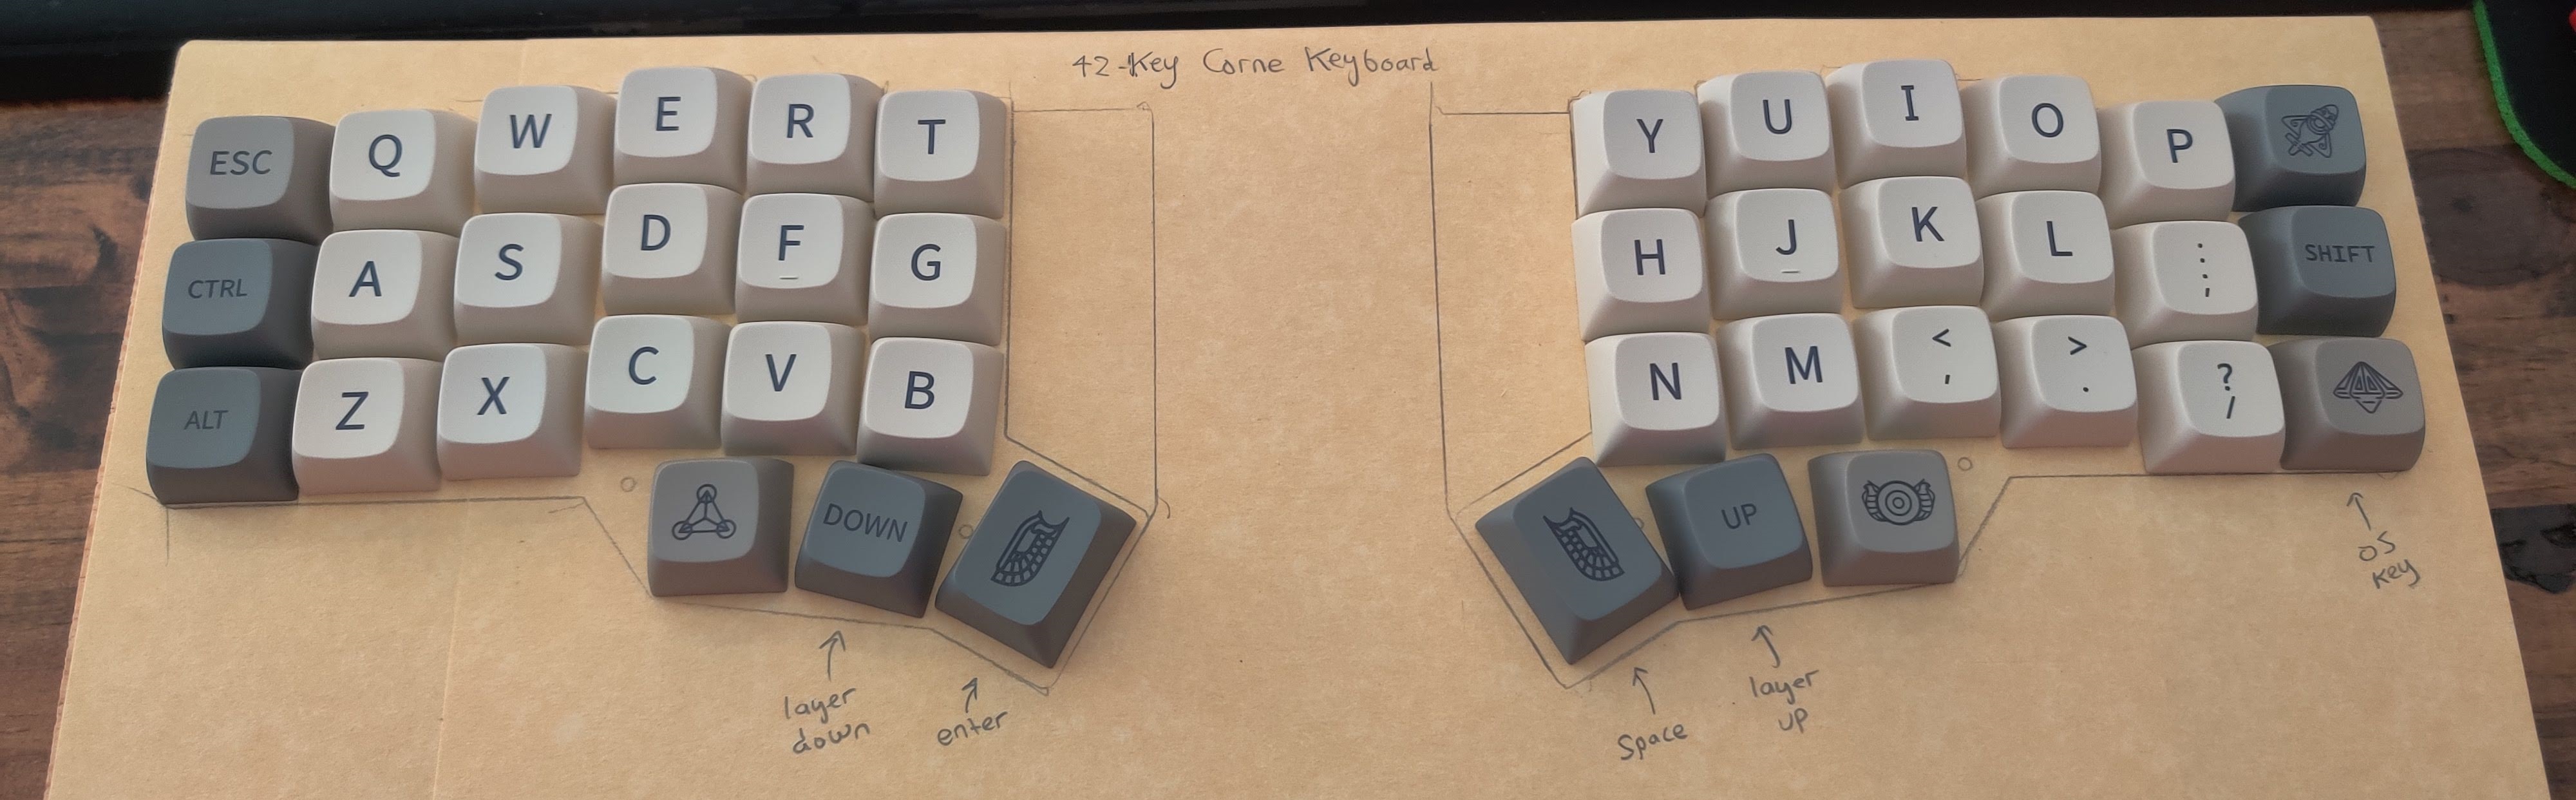
As for the keycaps, I found a nice set of PBT caps on Amazon and laid them out in a first-attempt pattern:
Gathering the Tools
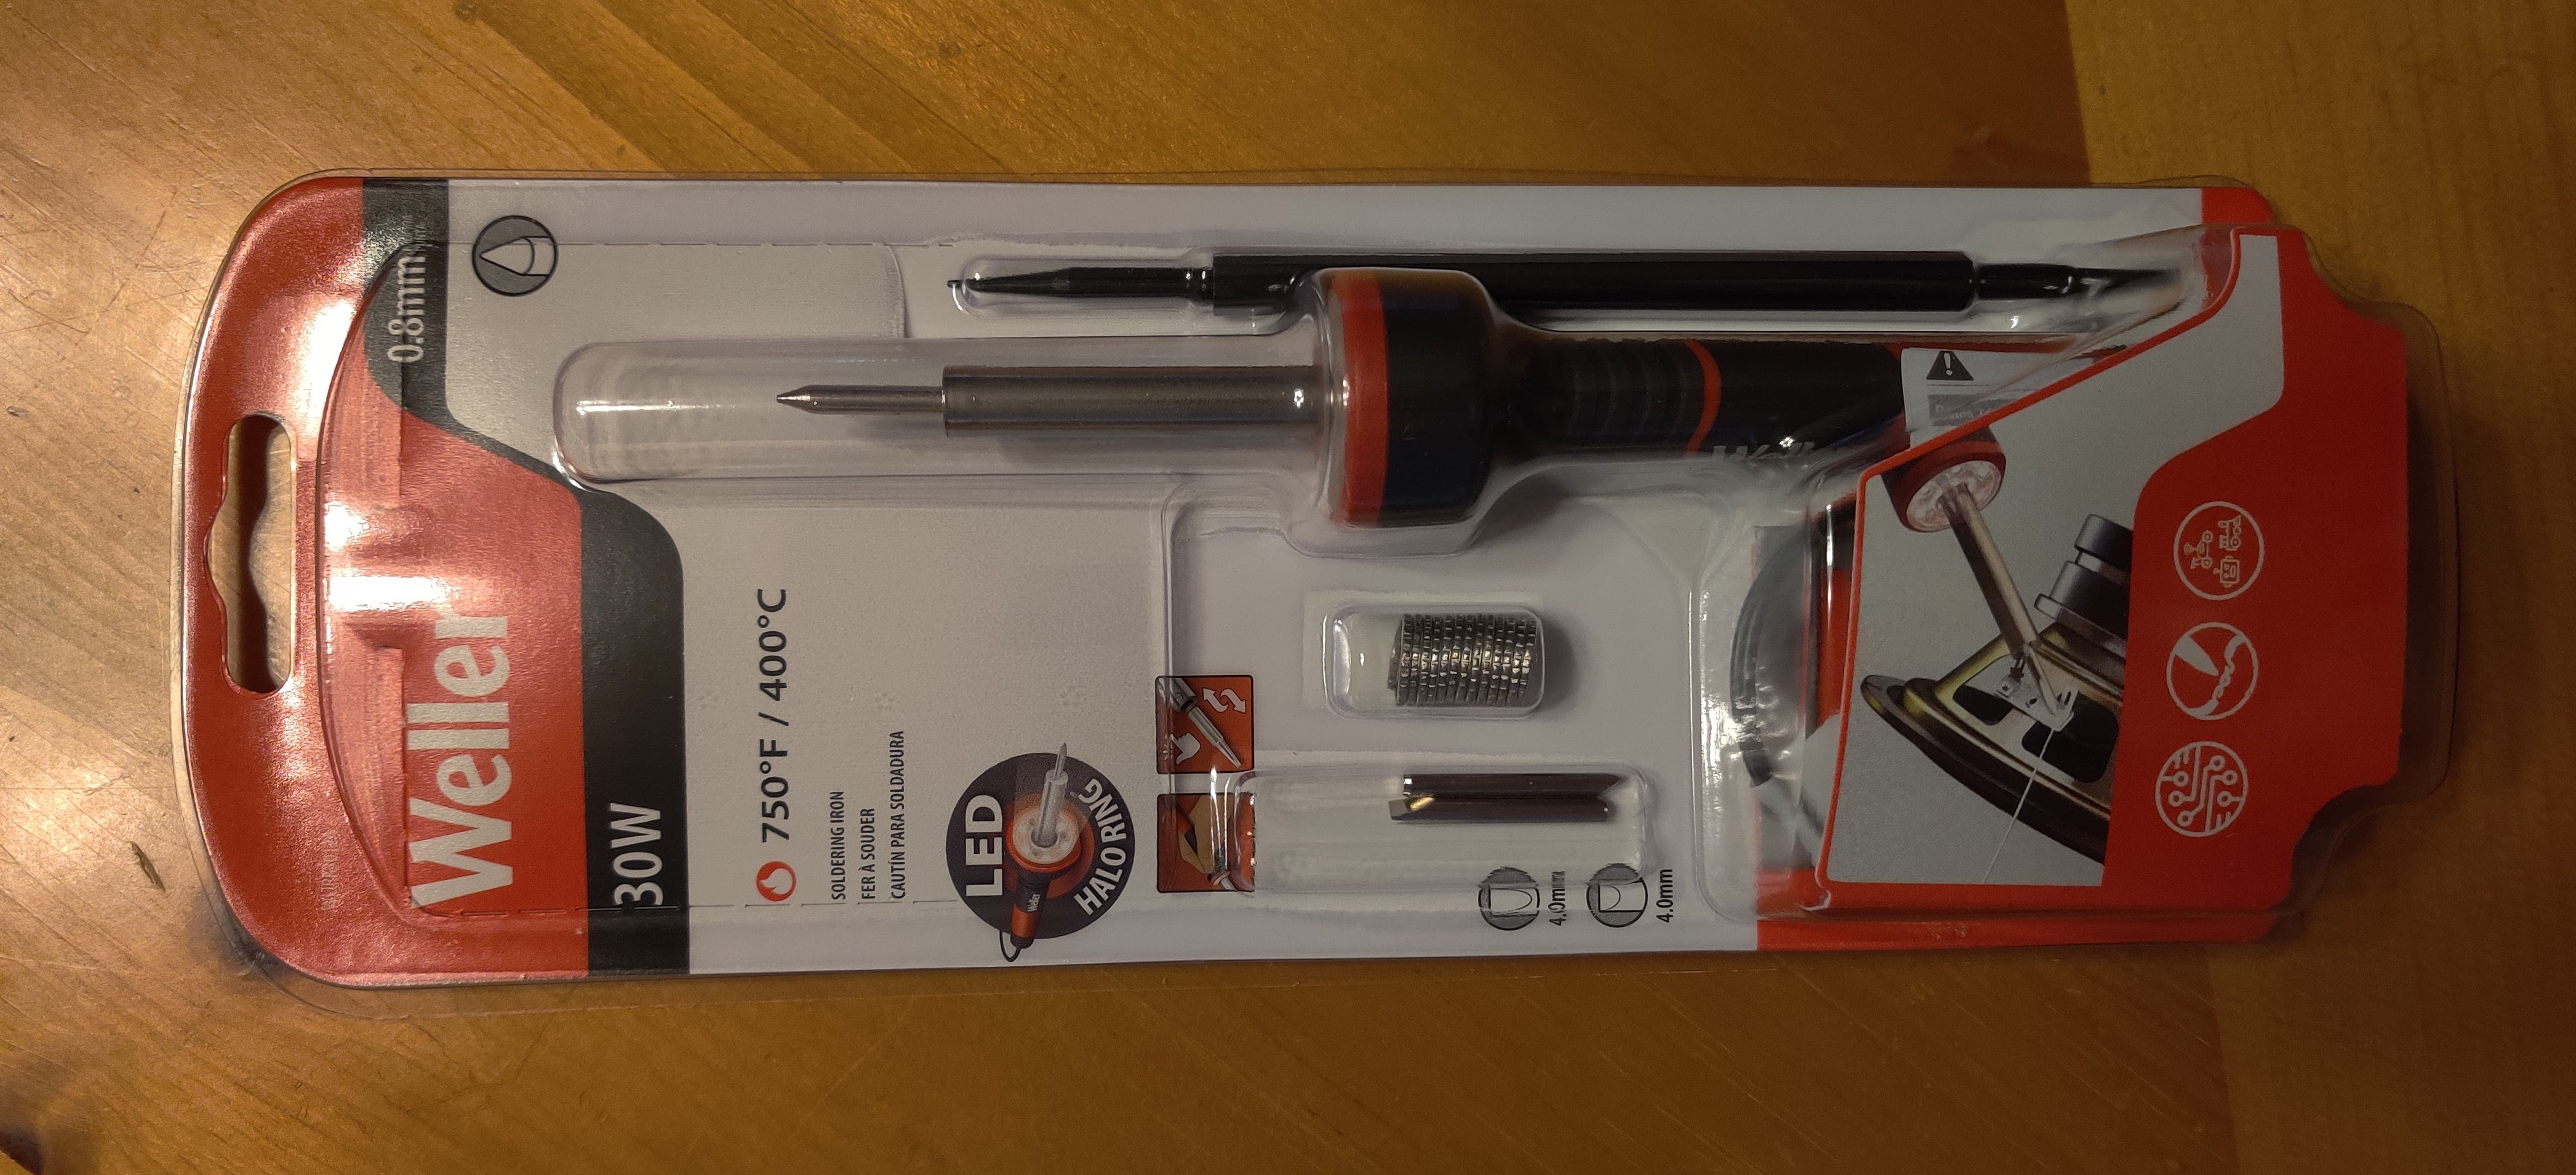
With the materials purchased, the next logical step was to grab all the necessary tools. By getting the kit, I opted to solder everything by hand, which meant I needed to get ahold of a soldering iron, some flux, and some 1mm electronics solder:
I also bought a multimeter, to test for continuity (or lack thereof) as I soldered. This wound up being very useful for ensuring I soldered correctly and didn’t accidentally make unintended bridges:

With that, I hijacked half of the kitchen table and got to work! Check out my next post to read about the soldering process.